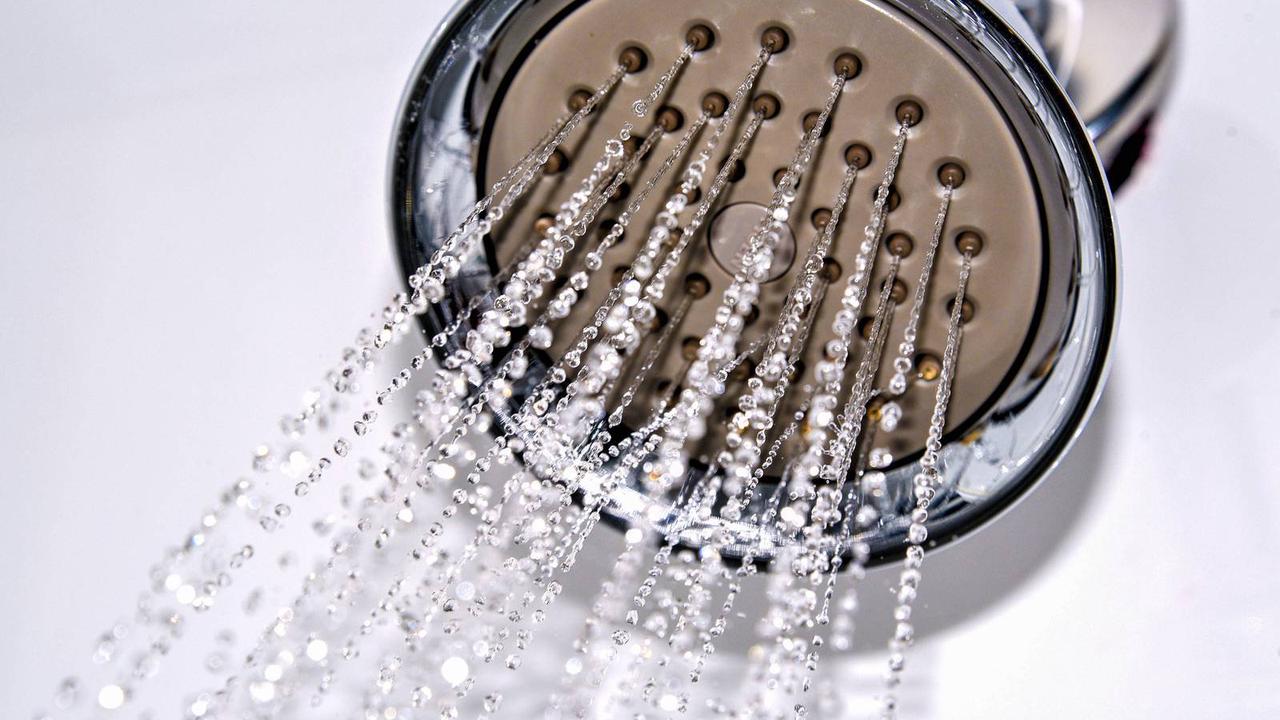
A properly functioning shower is essential for daily comfort, but when water flow is not directed correctly between the faucet and the showerhead, the issue often lies with the shower diverter. This small yet important component controls the direction of water, ensuring that it flows where it is needed. Over time, wear and tear, mineral buildup, or faulty parts can cause the diverter to malfunction, leading to reduced water pressure or inconsistent flow.
Many homeowners may feel unsure about addressing plumbing issues themselves, but repairing a shower diverter can often be a manageable task with the right guidance. Understanding the basics of how the diverter works and what causes common problems can make the repair process more straightforward.
By learning how to identify and fix these issues, homeowners can restore proper functionality, improve water efficiency, and avoid unnecessary plumbing expenses.
Understanding How a Shower Diverter Works
A shower diverter is a valve that redirects water from the bathtub faucet to the showerhead. It is typically located on the tub spout, within the faucet handle, or as part of a separate valve system. When activated, it blocks the flow of water to the tub and channels it upward to the shower.
There are different types of diverters, including pull-up, push-button, and three-valve systems. Each type functions slightly differently, but all serve the same purpose of controlling water direction. Understanding the type of diverter installed in a property is the first step in diagnosing and repairing issues.
Homeowners exploring shower diverter repair and maintenance tips for homes often find that identifying the specific type of diverter helps simplify the repair process. This knowledge ensures that the correct approach and tools are used.
Common Signs of a Faulty Shower Diverter
Recognizing the signs of a malfunctioning diverter is essential for timely repair. One of the most common issues is water flowing simultaneously from both the faucet and the showerhead. This indicates that the diverter is not fully redirecting the water.
Another sign is reduced water pressure in the shower. A worn or clogged diverter may restrict water flow, leading to a less effective shower experience. In some cases, the diverter may become difficult to operate, requiring excessive force to switch between functions.
Addressing these issues early prevents further damage and ensures that the plumbing system remains efficient. Ignoring these signs can lead to more complex problems that require professional intervention.
Tools and Materials Needed for the Repair
Before beginning the repair process, it is important to gather the necessary tools and materials. Basic tools such as a screwdriver, adjustable wrench, and pliers are commonly required. Depending on the type of diverter, additional items such as replacement parts or sealing tape may also be needed.
Having the correct tools ensures that the repair can be completed efficiently and safely. It also reduces the risk of damaging other components during the process.
Preparation is key to a successful repair. By organizing tools and understanding the steps involved, homeowners can approach the task with confidence and minimize potential challenges.
Step-by-Step Process to Repair a Shower Diverter
The first step in repairing a shower diverter is to turn off the water supply. This prevents leaks and ensures a safe working environment. Once the water is turned off, the diverter can be accessed by removing the faucet handle or tub spout, depending on the design.
Next, inspect the diverter for signs of wear, corrosion, or buildup. Cleaning the component may resolve minor issues caused by debris or mineral deposits. If the diverter is damaged, replacing it with a new part is often the best solution.
After cleaning or replacing the diverter, reassemble the components and turn the water supply back on. Testing the system ensures that the repair has been successful and that water flows correctly between the faucet and the showerhead.
When to Consider Professional Help
While many shower diverter repairs can be handled independently, some situations require professional assistance. Complex plumbing systems, persistent leaks, or extensive damage may be beyond the scope of basic repairs.
Professional plumbers have the expertise and tools needed to diagnose and resolve more complicated issues. They can ensure that repairs are completed correctly and safely, preventing further problems.
For those seeking reliable plumbing solutions for bathroom maintenance, consulting a professional provides peace of mind and ensures long-term functionality. Knowing when to seek help is an important part of effective property maintenance.
Preventing Future Shower Diverter Problems
Preventive maintenance is essential for keeping a shower diverter in good condition. Regular cleaning helps remove mineral buildup that can affect performance. Using water softeners in areas with hard water can also reduce the accumulation of deposits.
Inspecting the diverter periodically allows homeowners to identify potential issues early. Addressing minor problems before they worsen helps maintain efficiency and prolongs the lifespan of the component.
Proper use of the diverter is also important. Avoiding excessive force when operating the valve reduces wear and tear, ensuring smoother operation over time.
Conclusion
Repairing a shower diverter is a practical skill that can help homeowners maintain efficient and functional plumbing systems. By understanding how the diverter works, recognizing common issues, and following a structured repair process, it is possible to restore proper water flow without unnecessary expense. While some situations may require professional assistance, many repairs can be handled with basic tools and careful attention. Regular maintenance and preventive measures further ensure long-term performance and reliability. Ultimately, addressing shower diverter issues promptly contributes to a more comfortable and efficient home environment.